
In the lush setting of your garden, the terrace serves as a haven of peace for moments of relaxation. Over time, the pavers can deteriorate due to the whims of the weather or frequent use. A damaged paver can alter the aesthetics of your outdoor space and pose a tripping hazard. Fortunately, the repair is not necessarily complex. A proper replacement of the damaged paver will preserve the visual harmony of your terrace and ensure its functionality. This practical guide details the essential steps to remove the deteriorated paver and install a new one, thus breathing new life into your little paradise.
Practical Guide for Replacing a Terrace Paver
When the time comes to renew the pavers of your terrace, a clear methodology is required. First, you need to carefully remove the damaged pavers. Use appropriate tools to lift the paver without damaging the adjacent ones. A thorough inspection for the first signs of degradation is necessary to prevent future damage. Indeed, the deterioration of the terrace can be caused by several factors, including the use of harsh cleaning products, exposure to weather extremes, or the materials used during the initial construction.
Read also : How to React to a Blocked Transfer Issue on Revolut: Explanations and Solutions
Once the paver is removed, prepare the ground to accommodate the new one. Create a sand bed, ensuring a stable and level base for the replacement paver. Polymer sand is often recommended for its ability to harden after wetting, providing a solid and durable foundation. The process of repairing the paver must take into account the harmonization with the existing pavers, ensuring that the renovation of the terrace does not stand out in the overall landscape of your outdoor setup.
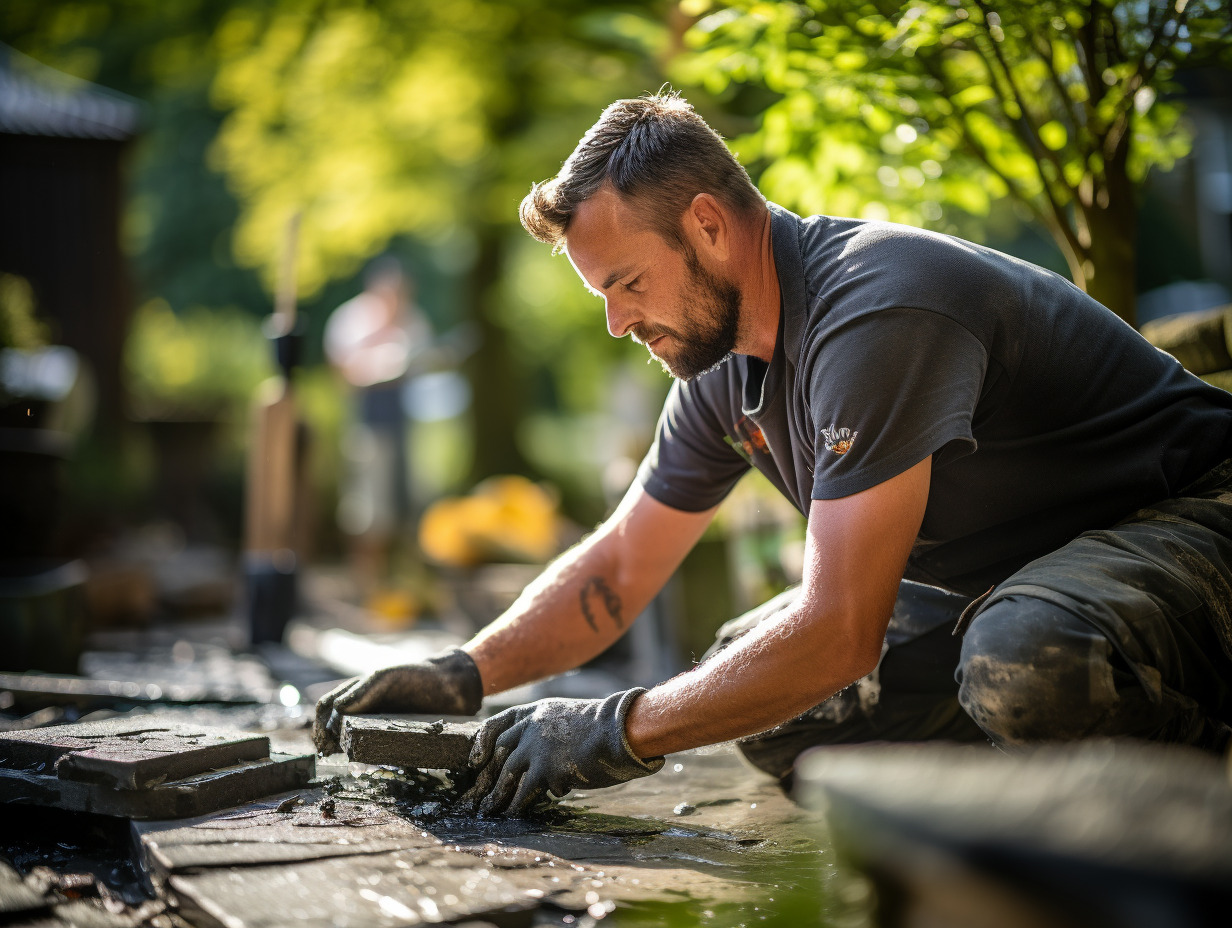
For installation, place the new pavers precisely and ensure they align perfectly with the others. After laying them, add sand and water to fill the joints and solidify the whole. This step is crucial to prevent the movement of the pavers and maintain the integrity of the terrace. Understanding how to replace a damaged interlocking paver is not just an aesthetic concern; it also guarantees the safety and longevity of your outdoor living space.
Related reading : Create personalized gifts: discover how to print on a mug!
Choosing and Installing the Right Paver: Tips and Tricks
Selecting the right paver is the first step towards a successful repair of your terrace. Interlocking pavers stand out for their ease of installation and their ability to form a cohesive surface without the use of mortar. For a more refined aesthetic, natural stone offers a variety of textures and colors but requires more meticulous installation due to its irregular shape. As for drainable stabilized gravel, it presents a functional solution, ensuring effective drainage and thus preventing water accumulation.
Once your choice is made, the installation must be carried out with precision. For interlocking pavers, ensure that the sand bed is perfectly leveled to avoid any future settling. Regarding natural stone, preparing the laying bed is fundamental; it must correspond to the unique shape of each paver. Adapt the laying technique to the chosen material, as this guarantees durability and aesthetics for your terrace.
The finishing of the installation should not be overlooked. After laying the pavers, you need to apply a drainable resin or add stabilized gravel between the gaps. This helps keep the pavers in place and ensures optimal permeability, thus facilitating rainwater drainage and reducing the risk of deterioration. Consider the integration of your repair into the overall landscaping for visual and functional coherence.